What is Inventor?
|
Autodesk Inventor is a CAD program. CAD stands for Computer Aided Design. Inventor allows engineers to design products in a 3D space. Inventor allows for creating prototypes of different models.
|
How to Make a Widget
|
|
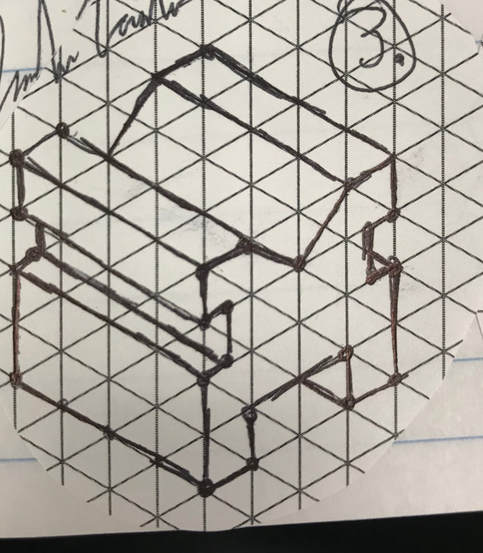
Step 1 - Create a sketch of the widget. Make sure to have the sketch proportional to the rest of the widget.
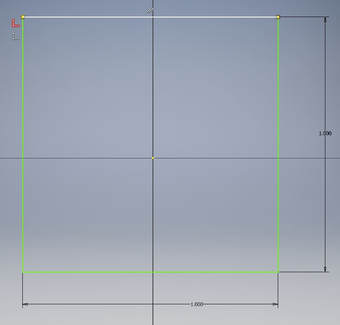
Step 2 - Make a square that is the same size as the front face of the widget. This will make sketching the rest of the face easier. I will be making my final widget 1 in. by 1 in.
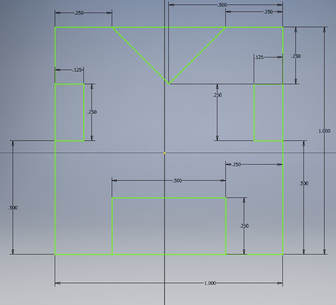
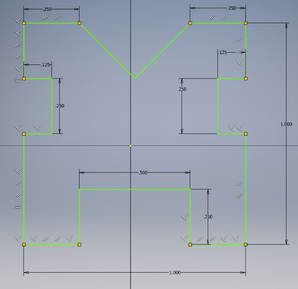
Step 3 - Sketch the front face inside of the square from step 2. Use the dimension tool to keep your dimensions proportional to the original sketch. Make sure to have a dimension on every line before moving on to step 4.
|
|
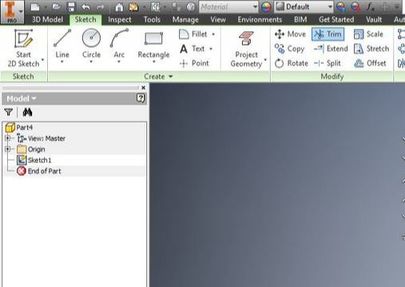
Step 4 - Use the Trim tool found on the toolbar. Use this to cut out the extra parts of the square. This should be the final sketch of the front face. Make sure not to trim the parts of the sketch, only trim the excess square.
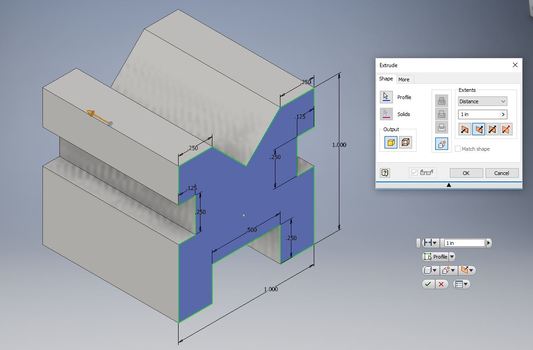
Step 5 - Press finish sketch found on the toolbar. After this use the extrude button to create the 3D object. Change the value for the extrusion to fit your object.
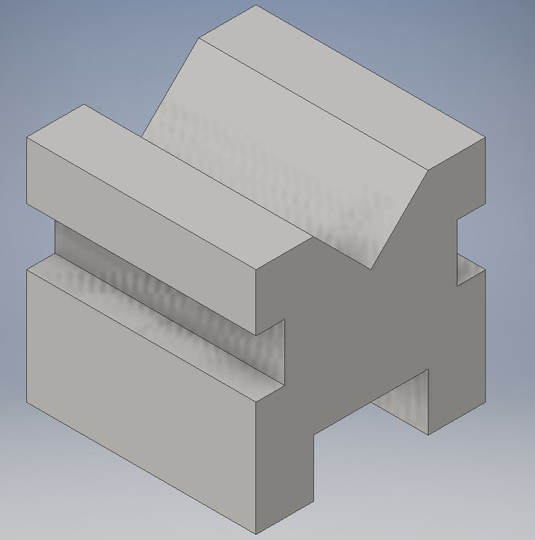
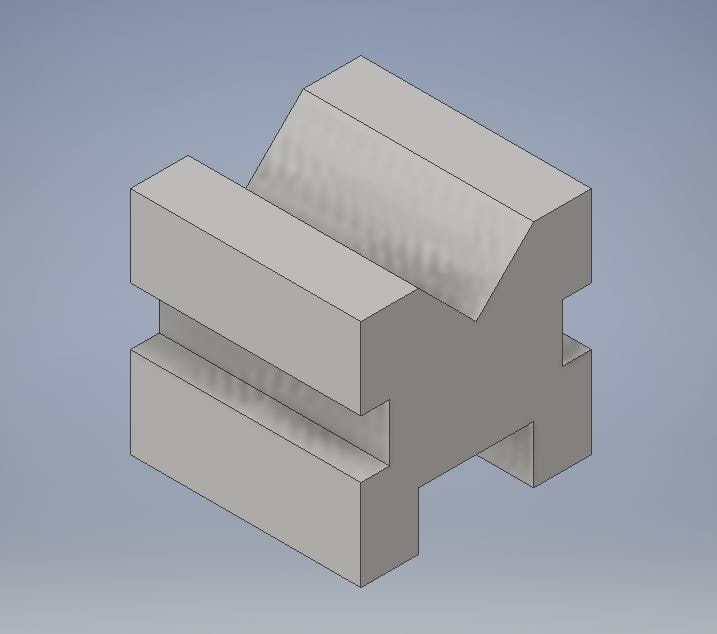
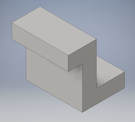
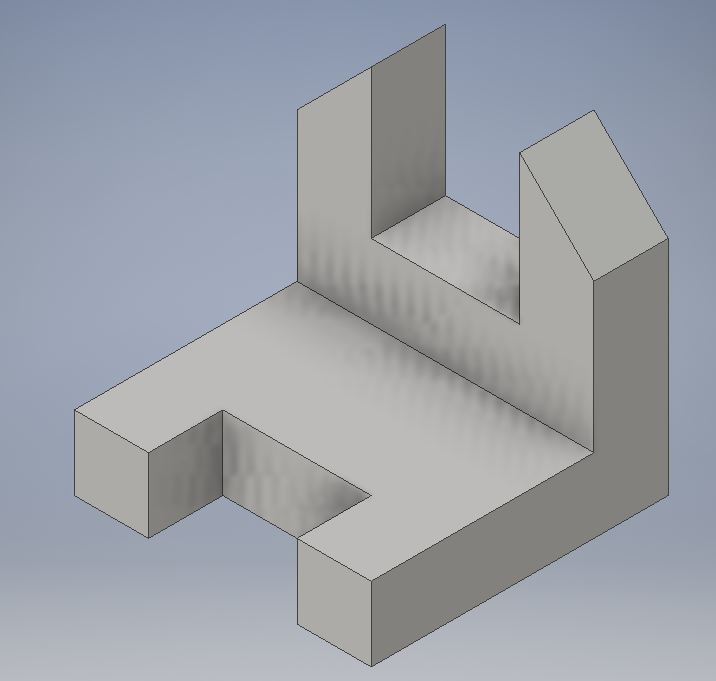
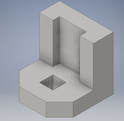
Step 6 - This is the final object.
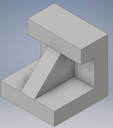
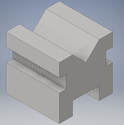
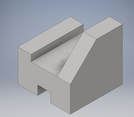
All Widgets
|
|
|
|
|
|
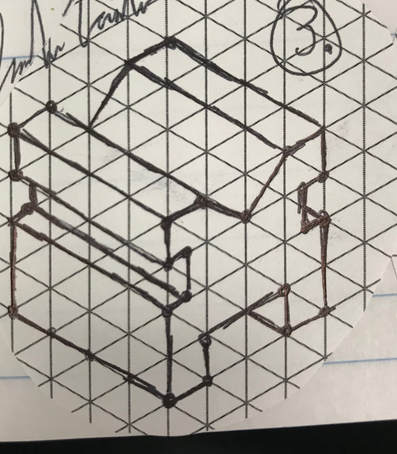
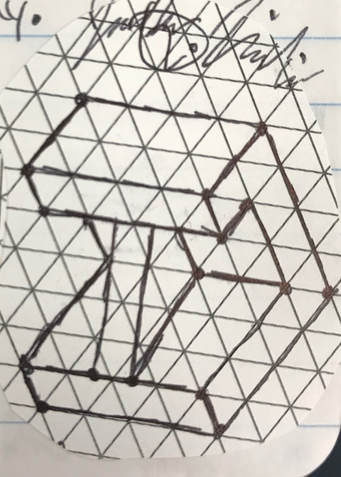
Sketches by Hand
|
|
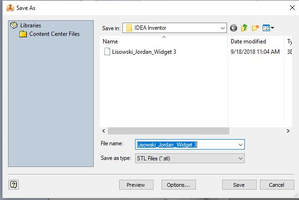
3D Printing Widget 3
|
|
|
|
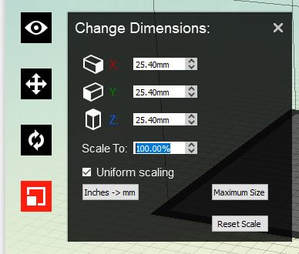
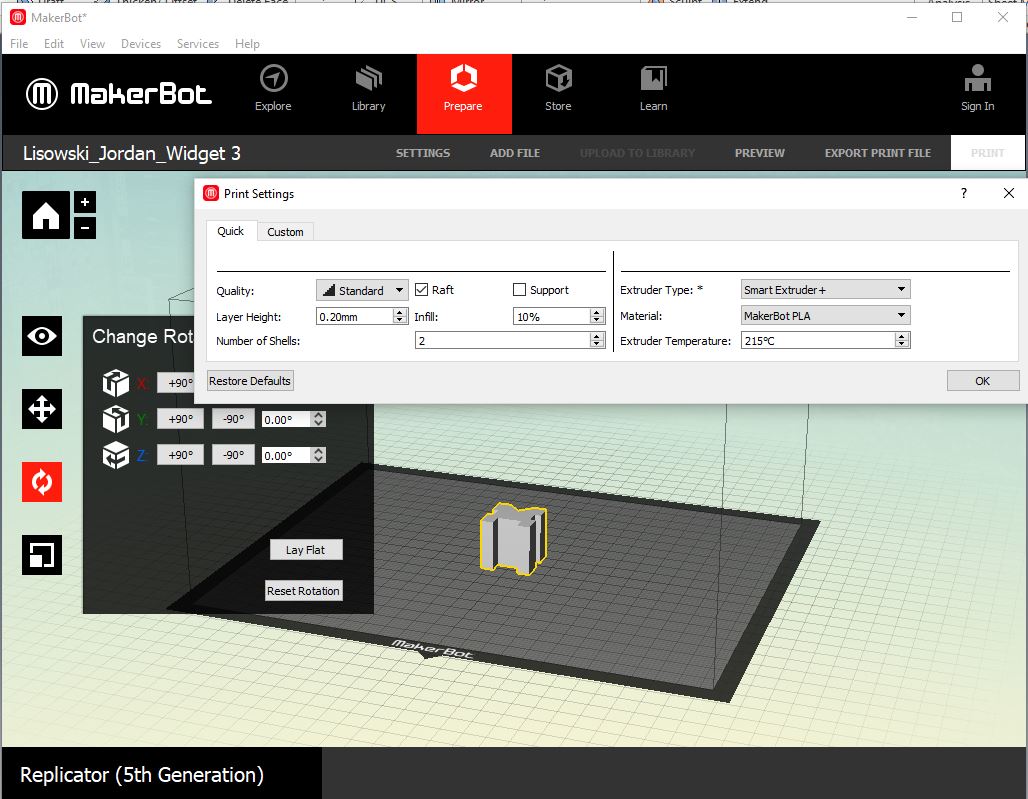
Setting up the widget using the Maker Bot application.
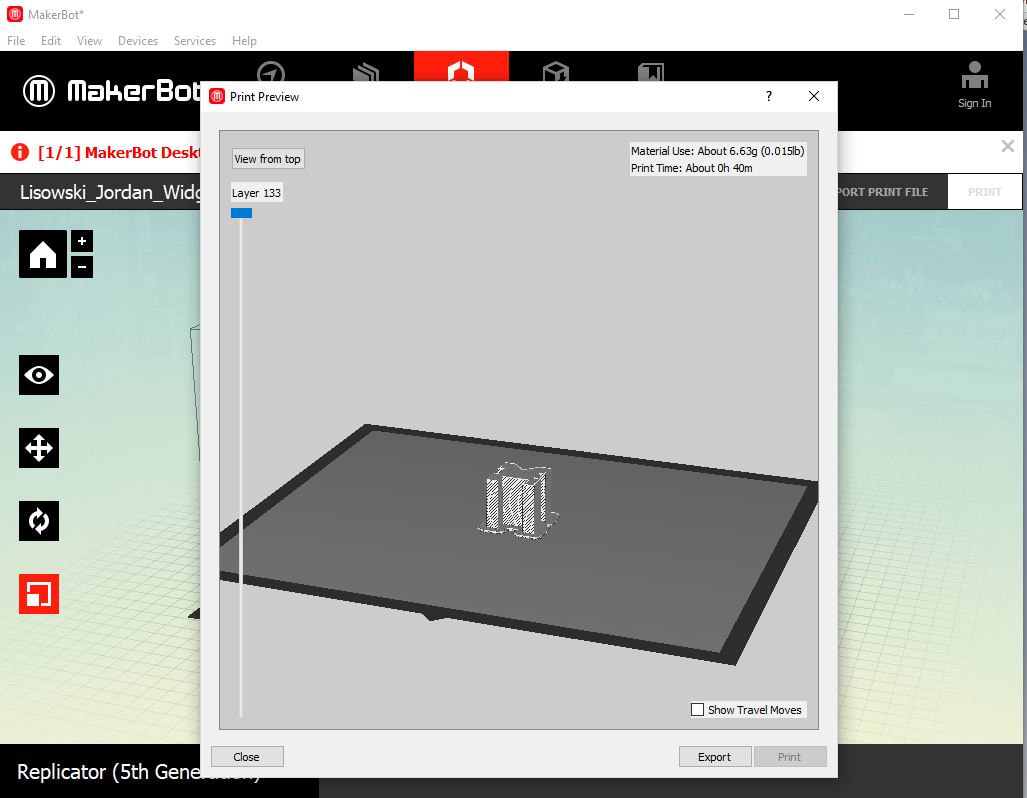
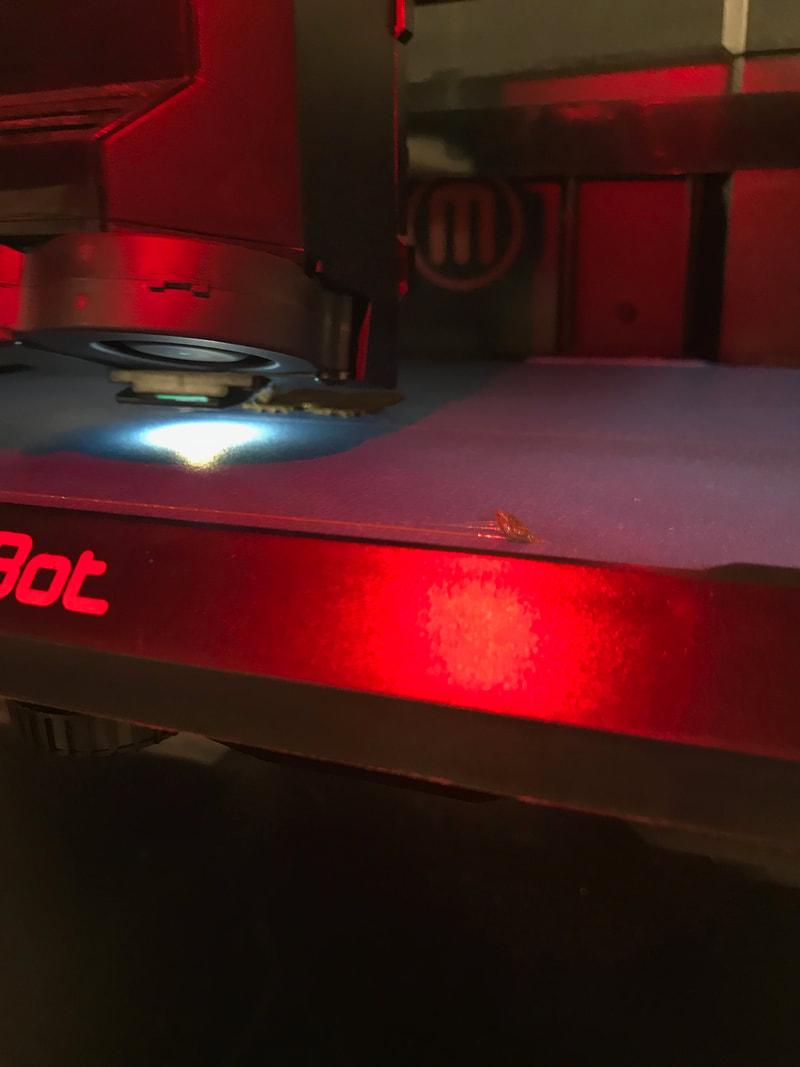
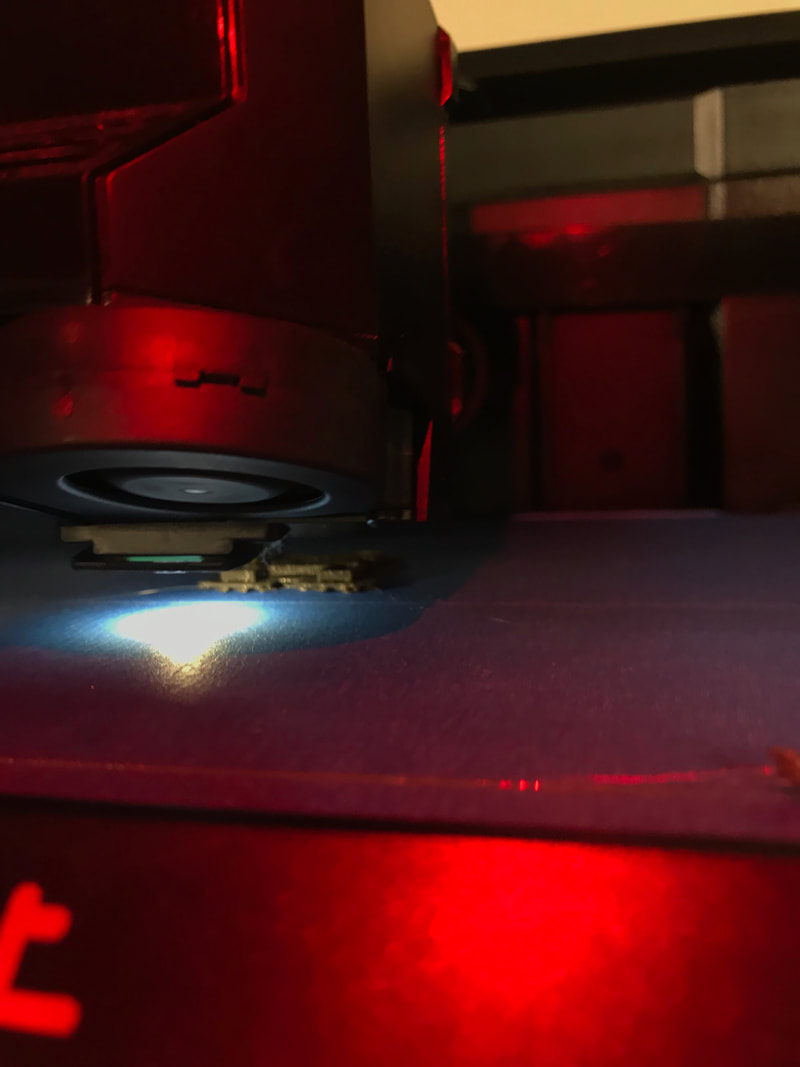
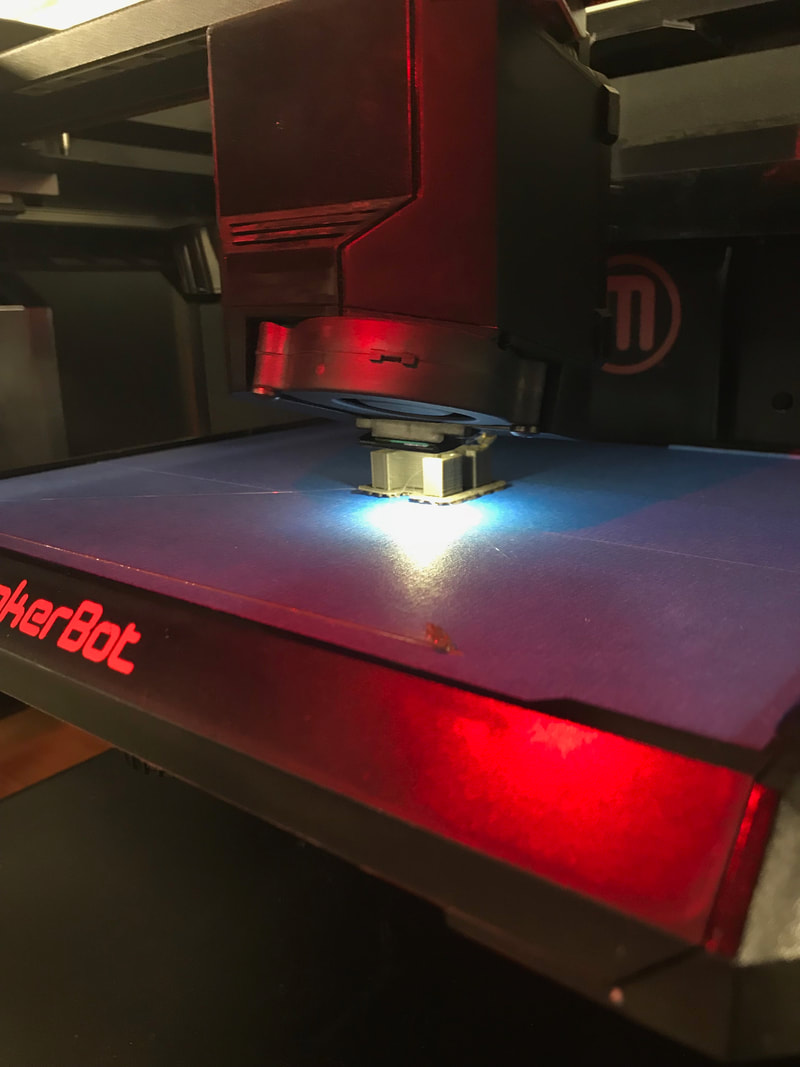
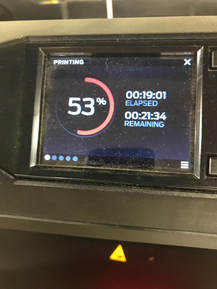
3D Printing Progress
|
|
|
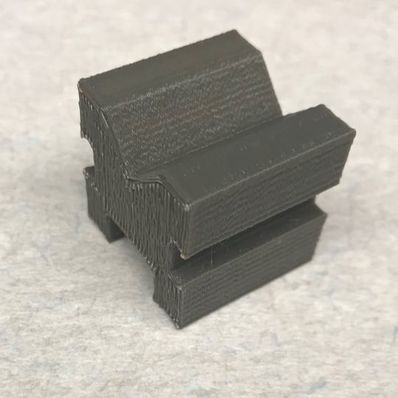
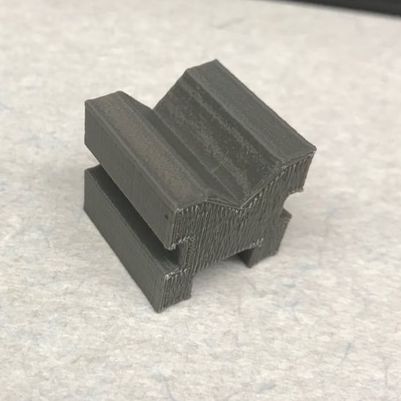
Final Printed Widget...
|
|
Final Thoughts...
|
I have had experience with inventor before this project. The inventor side of the project was very easy because of my prior experience. I have not had used MakerBot before, so I learned how to print my 3D objects. This will be helpful for my future printing projects because now I will be able to use MakerBot quicker, and easier.
|
